"Hybridizing: Is it for you"?
By Lori-Ann Jones
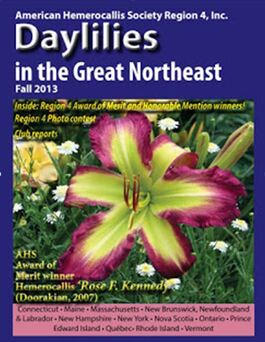
Printed in: American Hemerocallis Society Region 4, Inc.
Daylilies in the Great Northeast, Fall 2013, page 36 to 38
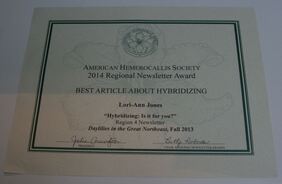
Article received an award from the American Hemerocalli Society for:
BEST ARTICLE ABOUT HYBRIDIZING
By Lori-Ann Jones
Printed in: American Hemerocallis Society Region 4, Inc.
Daylilies in the Great Northeast, Fall 2013, page 36 to 38
Article received an award from the American Hemerocalli Society for:
BEST ARTICLE ABOUT HYBRIDIZING